Configuring Calibre, Organizr and more
26. February, 2022 • 6 min read • Homelab
Additional services to complement any homelab
I'm a data hoarder; that's nothing new to people who know me. This year around, I drove my passion a little bit further and streamlined my setup. The following articles will be a multi-part series introducing various areas such as:
- Introduction
- Virtualisation using a PowerEdge R820
- Storage with a QNAP TVS-1271U-RP
- Networking with Ubiquiti
- Media streaming with Plex
- Download management with SABnzb and Transmission
- Service management with Sonarr, Radarr, Lidarr, Readarr, Bazarr and Mylar
- Additional tools like Calibre, Ubooquity, Ombi or Organizr
- Monitoring with Checkmk
More services for our toolbox
With Sonarr, Radarr, Lidarr, Readarr, Bazarr and Mylar we cover a wide area of DVR systems to manage our media. However, many additional tools are available to make your life even more convenient. This section will cover some I find very helpful:
- Calibre Web and Ubooquity to manage eBooks and PDFs
- Tautulli and Ombi to gather stats and manage requests
- Organizr to have a friendly landing page for all the services
Remember that we are still using a Ubuntu VM, as with the previous services.
Managing eBooks and PDF

The state of eBook and PDF management isn’t there yet. It would be great if Plex takes the “cord-cutting” to the next level by adding support, as it has been one of the most requested feature on the platform.
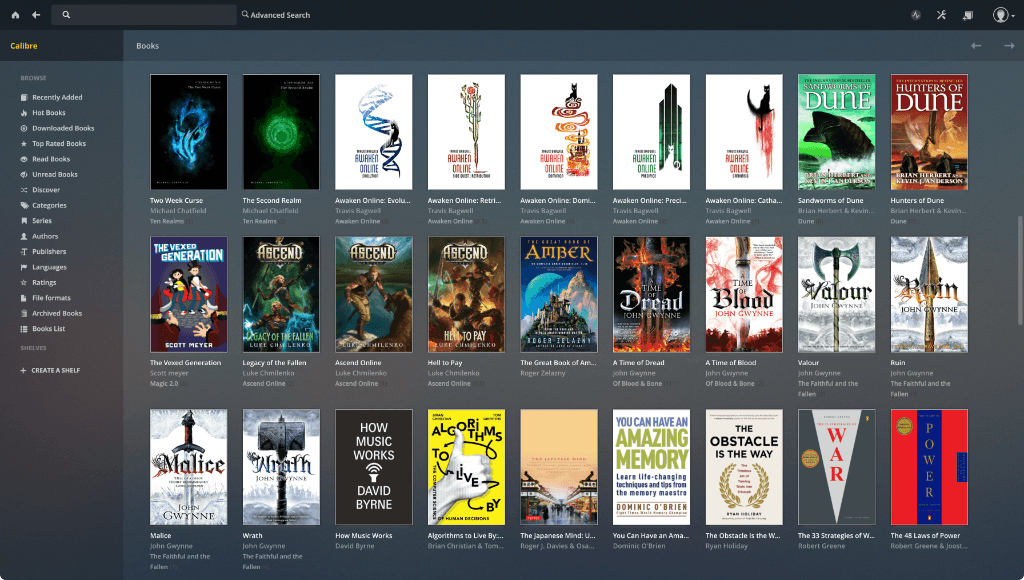
Calibre is still the best option to go to until Readarr reaches maturity. The app itself works on any platform. Install it and designate a folder on your NAS to store all the eBooks or PDFs. Calibre creates a metadata.db and metadata_pre_restore.db file that hosts all the data necessary for your library. This process makes it easy to use the same library on different systems. It also has excellent plugin support to extend its functionality to, for example, also manage your Manga/Comic library.
In addition to the app itself you can also install Calibre Web. It provides an online interface where you can manage your library from anywhere you want. The installation is also straightforward:
sudo apt install git python3.7 python3-setuptools
sudo git clone https://github.com/janeczku/calibre-web.git /opt/CalibreWeb
cd /opt/CalibreWeb
python3 cps.py
Next, open up http://x.x.x.x:8083/config to check that everything is working. Complete the installation instructions and follow up by ensuring sure that the service starts automatically. Run sudo vim /etc/systemd/system/calibreweb.service and add the following content:
[Unit]
Description=Calibre-Web

[Service]
Type=simple
User=ddl
ExecStart=/usr/bin/python3 /opt/CalibreWeb/cps.py
WorkingDirectory=/opt/CalibreWeb

[Install]
WantedBy=multi-user.target
Adapt the User entry to your systems user. Finally, enable the service to start after a restart:
sudo systemctl daemon-reload
sudo systemctl enable calibreweb
sudo systemctl start calibreweb
Streaming eBooks and PDF

Audiobooks technically work on Plex, but better tools are around, such as Audiobookshelf or Booksonic for streaming. I use Plex to browse and load them manually into Apple’s books app for synchronisation.
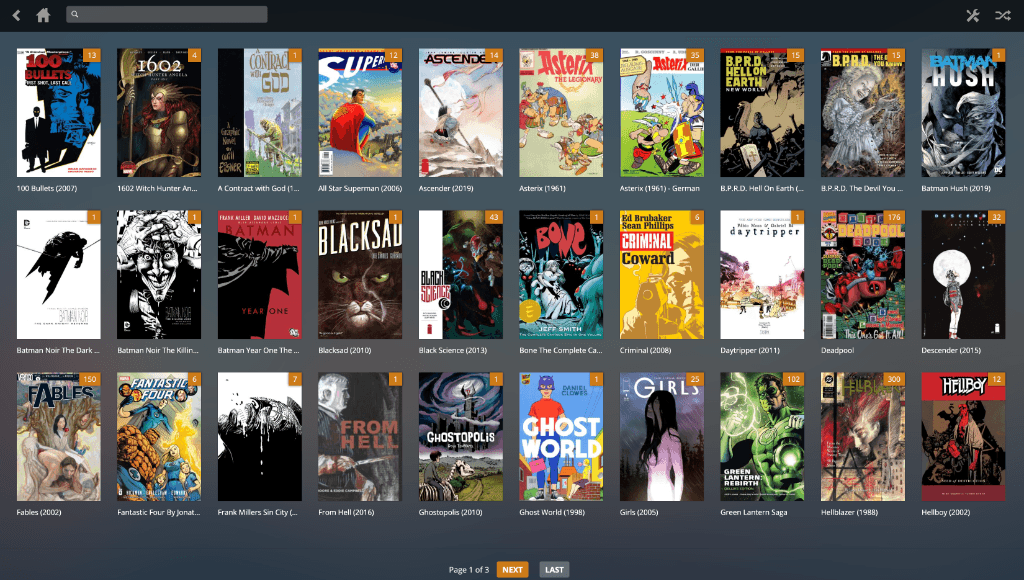
Calibre isn’t the best choice either to stream Comics, eBooks and PDFs. Here is where Ubooquity shines. It allows establishing OPDS feeds to stream its content to apps such as Chunky or tiReader.
The installation is more involving, as you need to have Java installed on your VM. The setup process looks something like this:
sudo apt install default-jre
sudo mkdir /opt/Ubooquity
cd /opt/Ubooquity
sudo wget http://vaemendis.net/ubooquity/service/download.php
sudo mv download.php Ubooquity-2.1.2.zip
unzip Ubooquity-2.1.2.zip
Next, configure the service using sudo vim /etc/systemd/system/ubooquity.service and add the following content:
[Unit]
Description=Ubooquity Daemon
After=network.target

[Service]
User=ddl
Group=ddl

Type=simple
ExecStart=/usr/bin/java -jar /opt/Ubooquity/Ubooquity.jar --workdir /opt/Ubooquity --libraryport 8097 --adminport 8098 --remoteadmin --headless
TimeoutStopSec=20
KillMode=process
Restart=on-failure

[Install]
WantedBy=multi-user.target
Again ensure that you use the correct User and Group and eventually change the libraryport and adminport to your liking. Then fix the permissions and enable the service:
sudo chmod 770 /opt/Ubooquity -R
sudo chown ddl:ddl /opt/Ubooquity -R

sudo systemctl daemon-reload
sudo systemctl enable ubooquity
sudo systemctl start ubooquity
The admin is simple to understand and setup. Make sure to “Enable OPDS feed” from the advanced section.
Bonus: I’ve also created a nice Plex based theme that you can install by running sudo git clone https://github.com/FinalAngel/plextheme.git -b master /opt/Ubooquity/themes/plextheme. Once installed, go to the admin and select it from the “Generals” tab.
Gather statistics and manage requests

Plex added its Dashboard showing basic statistics about usage, play history, or top played media a while ago. However, Tautulli offers deeper analytics and more graphs and filters. You can install it by executing:
sudo apt install git python3.7 python3-setuptools
cd /opt
sudo git clone https://github.com/Tautulli/Tautulli.git
sudo addgroup tautulli
sudo adduser --system --no-create-home tautulli --ingroup tautulli
sudo chown -R tautulli:tautulli /opt/Tautulli
sudo cp /opt/Tautulli/init-scripts/init.systemd /lib/systemd/system/tautulli.service
sudo systemctl daemon-reload
sudo systemctl enable tautulli.service
sudo systemctl start tautulli.service
Next, open up http://x.x.x.x:8181 and configure Tautulli to connect to your Plex server. The Tautulli login will synchronise with your Plex login.
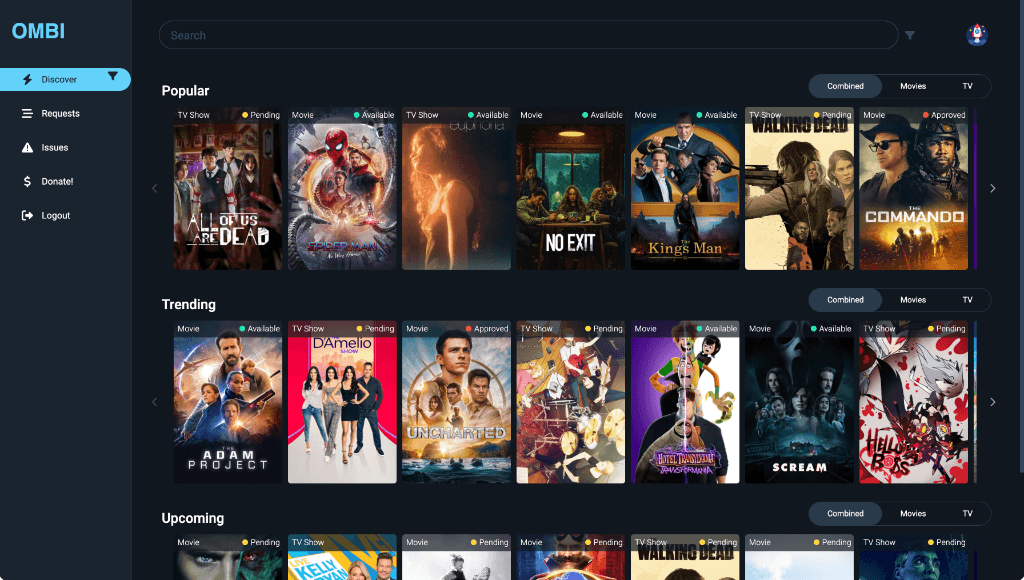
Finally, if you want to manage requests from friends or family, use WhatsApp or talk to them 🤣. Alternatively, install Ombi and manage all requests centrally in one place. It cal also be easily installed by running:
echo "deb https://apt.ombi.app/master jessie main" | sudo tee /etc/apt/sources.list.d/ombi.list
curl -sSL https://apt.ombi.app/pub.key | sudo apt-key add -
sudo apt update && sudo apt install ombi
Ombi has been installed successfully and will automatically start during boot if no errors are shown. It should be reachable by visiting http://x.x.x.x:5000. Open the page and connect it to your Plex server as well. Finally, begin inviting users to allow them to make requests.
Managing your bookmarks

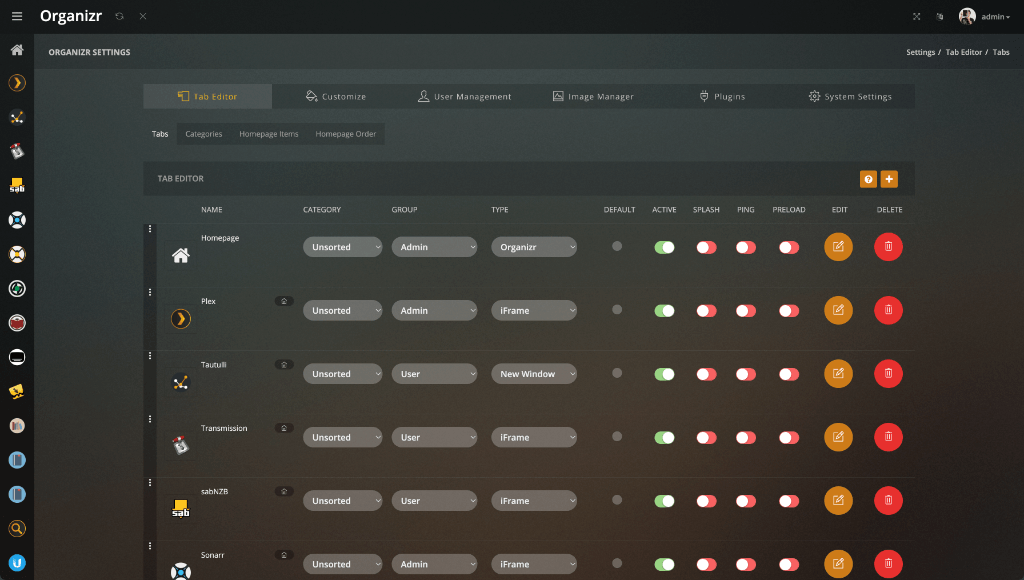
Last but not least, we need a place to reach all our tools and services easily. Organizr is great for this. It adds a nice interface to reach all of them. Ensure to host it on a separate Ubuntu VM instance as it did interfere too much with my existing VMs. To install, run the following commands:
sudo git clone https://github.com/elmerfdz/OrganizrInstaller /opt/OrganizrInstaller
cd /opt/OrganizrInstaller/ubuntu/oui
sudo bash ou_installer.sh
Once installed, open http://x.x.x.x using the IP from your VM and start adding your services 🍺.
Honourably mentions
So what’s next
We’re ready for the final chapter. We will set up monitoring for all of our “critical infrastructures” there.
‘Till next time!