Configuring Sonarr, Radarr and more
29. December, 2021 • 9 min read • Homelab
DVR services to manage your digital content
I'm a data hoarder; that's nothing new to people who know me. This year around, I drove my passion a little bit further and streamlined my setup. The following articles will be a multi-part series introducing various areas such as:
- Introduction
- Virtualisation using a PowerEdge R820
- Storage with a QNAP TVS-1271U-RP
- Networking with Ubiquiti
- Media streaming with Plex
- Download management with SABnzb and Transmission
- Service management with Sonarr, Radarr, Lidarr, Readarr, Bazarr and Mylar
- Additional tools like Calibre, Ubooquity, Ombi or Organizr
- Monitoring with Checkmk
Before we begin
Continuing from Download management, we’ll focus on setting up:
- Sonarr to manage tv-shows
- Radarr to manage movies
- Lidarr to manage music
- Readarr to manage books
- Bazarr to manage subtitles
- Mylar to manage comics
Certain services will use additional tools to organise the content. For example, with Radarr, we will manage movies through IMDB watchlists. Radarr will pull and synchronise the list and automatically download the requested movies in this scenario.
I recommend creating one Ubuntu VM with about 30 GB of disk space to host the services below. The downloads will be stored and managed on the NAS, so the VM doesn’t need much space.
There is also a separate section about Migrating from an existing instance to assist in these cases.
Installing Sonarr
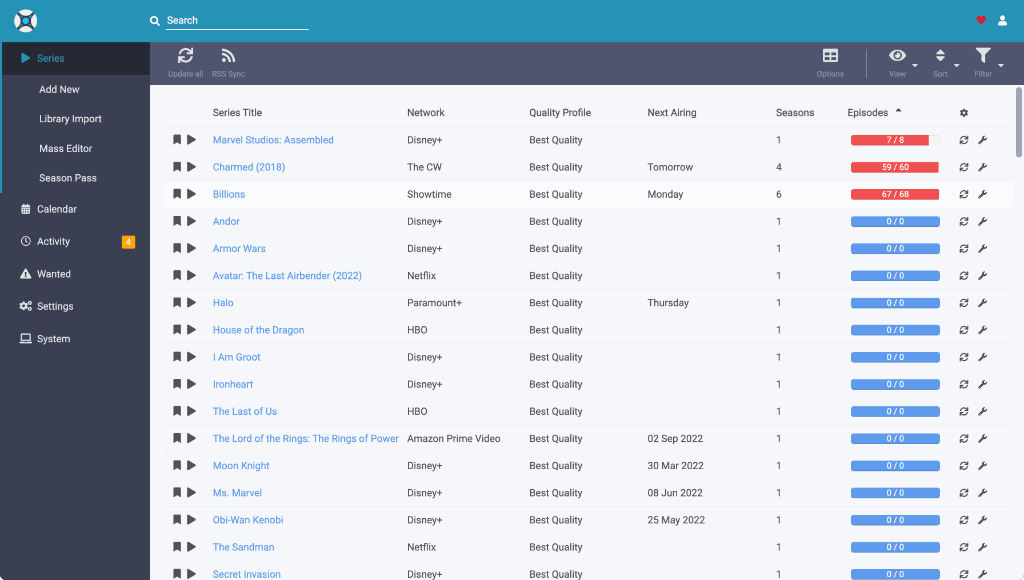
Let’s get started by installing Sonarr first. Go to the Sonarr website and follow the instructions for Linux. As of this writing, you need to run the following sequence of commands:
sudo apt-key adv --keyserver hkp://keyserver.ubuntu.com:80 --recv-keys 2009837CBFFD68F45BC180471F4F90DE2A9B4BF8
echo "deb https://apt.sonarr.tv/ubuntu focal main" | sudo tee /etc/apt/sources.list.d/sonarr.list
sudo apt update
sudo apt install sonarr
You may be asked to provide a username during the installation process. If so, choose the same as you have for the VM.
Once the installation finishes, check the status by running sudo systemctl status sonarr. If there are no errors, open a browser and enter http://x.x.x.x:8989 to begin the initial configuration. Replace the x.x.x.x with the IP address of your VM. If you are unsure, just run ip a to get the current IP address. If the service doesn’t start automatically, run the following commands:
sudo systemctl enable sonarr
sudo systemctl start sonarr
Make sure to clean up downloaded files from your server after the installation (usually inside ~/). This process will apply to all the services.
See the bonus section about Configuring the services, for further configuration details, as the configuration steps are very similar.
I do not use any additional tools to manage tv-shows. There are some available such as trakt.tv. However, I found it easy to manage shows via the Sonarr user interface.
Installing Radarr
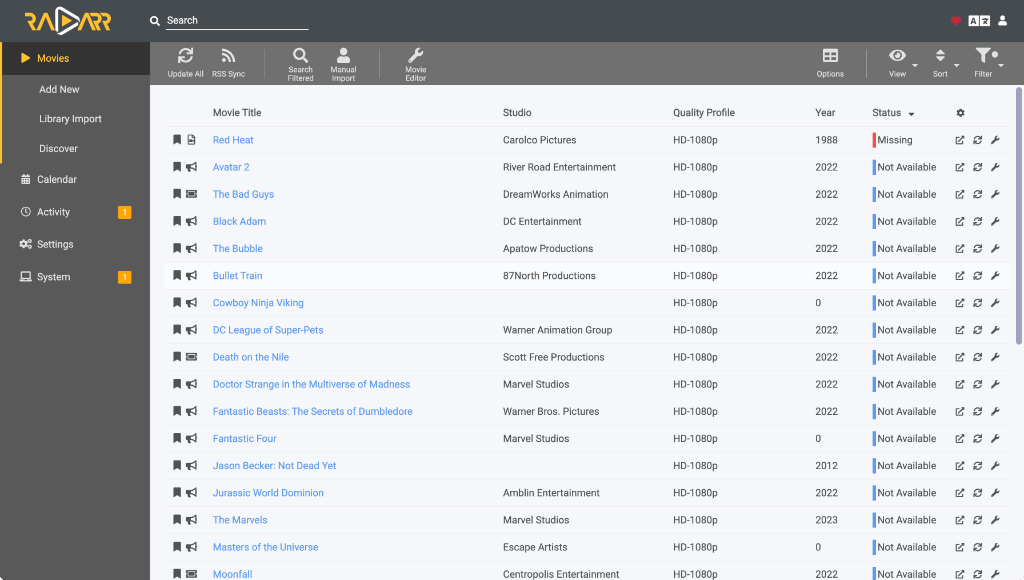
Next up is Radarr. Go to the Radarr website and follow the instructions for Linux. As of this writing, you need to run the following sequence of commands:
sudo apt update
sudo apt install curl mediainfo

curl -L -O $( curl -s https://api.github.com/repos/Radarr/Radarr/releases | grep linux.tar.gz | grep browser_download_url | head -1 | cut -d \" -f 4 )
tar -xvzf Radarr.master.*.linux.tar.gz
sudo mv Radarr /opt

sudo chmod -R 770 /opt/Radarr
sudo chown -R $user:$user /opt/Radarr
Alternatively, have a look at the community installation instructions.
You may need to adapt the User= and Group= entries inside /etc/systemd/system/radarr.service to match your VM’s username and group.
Finally, run the following commands to start Radarr:
sudo systemctl enable radarr
sudo systemctl start radarr
The last line should inform you that Radarr has been started and is running on http://x.x.x.x:7878. Replace x.x.x.x with the IP of your VM and open it up in a browser.
Managing movies through the Radarr user interface is also very simple. However, if you use IMDB often, you may be interested in the IMDB watchlist integration.
Whenever you see a trailer or an exciting movie, add it to the watchlist and Radarr will automatically add and download it.
Installing Lidarr
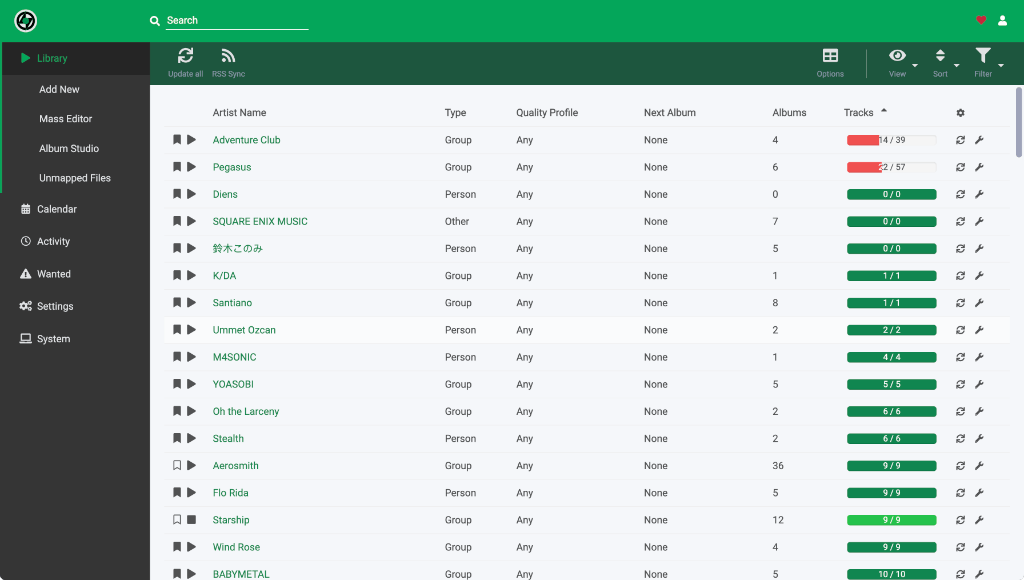
Let’s continue by installing Lidarr next. Go to the Lidarr website and follow the instructions for Linux. As of this writing, you need to run the following sequence of commands:
sudo apt update
sudo apt install curl mediainfo

curl -L -O $( curl -s https://api.github.com/repos/Lidarr/Lidarr/releases | grep linux.tar.gz | grep browser_download_url | head -1 | cut -d \" -f 4 )
tar -xvzf Lidarr.master.*.linux.tar.gz
sudo mv Lidarr /opt

sudo chmod -R 770 /opt/Lidarr
sudo chown -R $user:$user /opt/Lidarr
Alternatively, have a look at the community installation instructions.
You may need to adapt the User= and Group= entries inside /etc/systemd/system/lidarr.service to match your VM’s username and group.
Finally, run the following commands to start Lidarr:
sudo systemctl enable lidarr
sudo systemctl start lidarr
The last line should inform you that Lidarr has been started and is running on http://x.x.x.x:8686. Replace x.x.x.x with the IP of your VM and open it up in a browser.
Lidarr can import existing artists and albums very easily. The initial setup requires some work, though. I do not use any additional services to manage my library. I buy the Ablum and then load it into Lidarr.
Installing Readarr
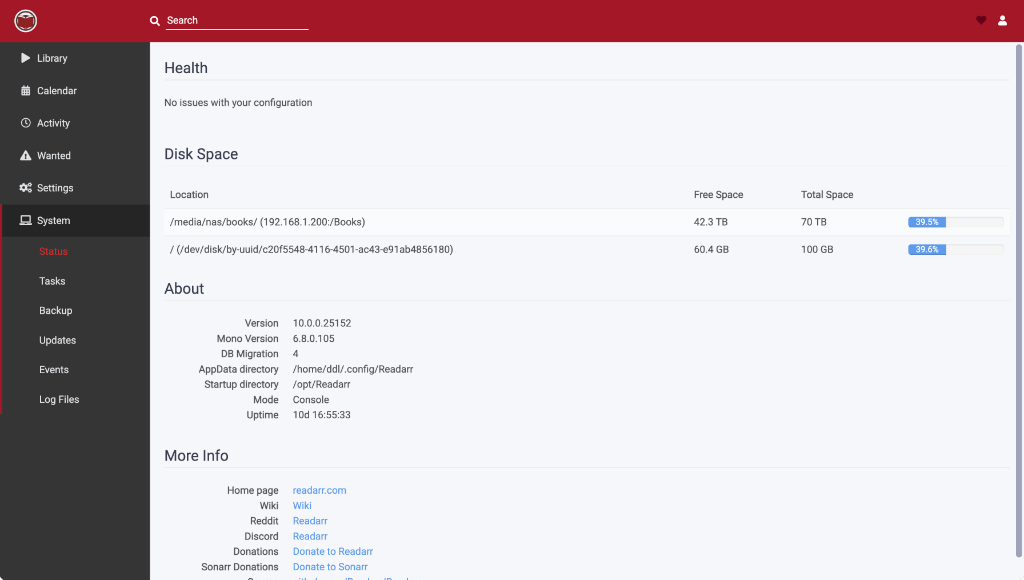
Up next is Readarr. Go to the GitHub repository and follow the instructions for Linux.
Be warned, though, Readarr is still in its early stages, and it is more difficult to install than any of the other services. So here’s what you need to do:
curl -L -O https://github.com/Readarr/Readarr/archive/develop.tar.gz
tar -xvzf develop.tar.gz
cd Readarr-develop
# install https://docs.microsoft.com/en-us/dotnet/core/install/linux-ubuntu
# install https://classic.yarnpkg.com/en/docs/install/#mac-stable

bash build.sh
yarn build

sudo mkdir /opt/Readarr
cd ~/Readarr-develop/_output/net462/linux-x64
sudo rsync -av --progress * /opt/Readarr/

cd ~/Readarr-develop/_output
sudo rsync -av --progress UI /opt/Readarr/

sudo chmod -R 770 /opt/Readarr
sudo chown -R $user:$user /opt/Readarr -R
Once all commands have run successfully, start the service by running sudo /usr/bin/mono --debug /opt/Readarr/Readarr.exe -nobrowser.
This process should start Readarr, and you should be able to open the web interface through http://x.x.x.x:8787. Replace x.x.x.x with the IP of your VM and open it up in a browser.
To create a startup file run sudo vim /etc/systemd/system/readarr.service, and add the following contents to the file:
[Unit]
Description=Readarr Daemon
After=network.target

[Service]
User=ddl
Group=ddl

Type=simple
ExecStart=/usr/bin/mono --debug /opt/Readarr/Readarr.exe -nobrowser
TimeoutStopSec=20
KillMode=process
Restart=on-failure

[Install]
WantedBy=multi-user.target
Make sure to adapt the User= and Group= entries accordingly.
Alternatively, have a look at the community installation instructions.
Finally, run the following commands to start Readarr:
sudo systemctl enable readarr
sudo systemctl start readarr
I manage my books through Calibre as Readarr is still in its infancy. So for now, let’s sit back and watch its development 😅.
Installing Bazarr
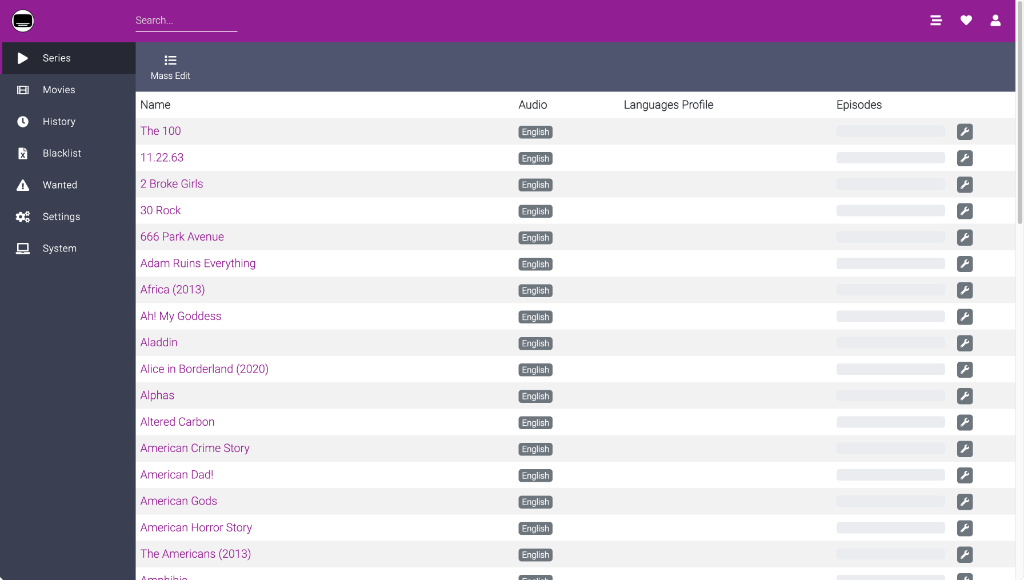
Let’s tackle Bazarr now! Go to the Bazarr wiki and follow the instructions for Linux. As of this writing, you need to run the following sequence of commands:
apt-get install python3-dev python3-pip python3-distutils

curl -L -O https://github.com/morpheus65535/bazarr/releases/latest/download/bazarr.zip
tar -xvzf bazarr.zip
sudo mv Bazarr /opt

sudo chmod -R 770 /opt/Bazarr
sudo chown -R $user:$user /opt/Bazarr

pip3 install -r /opt/Bazarr/requirements.txt
python3 bazarr.py
The last line should inform you that Bazarr has been started and is running on http://x.x.x.x:6767. Replace x.x.x.x with the IP of your VM and open it up in a browser.
There’s not much to manage here. Bazarr automatically downloads the requested subtitles, and it just works.
Installing Mylar
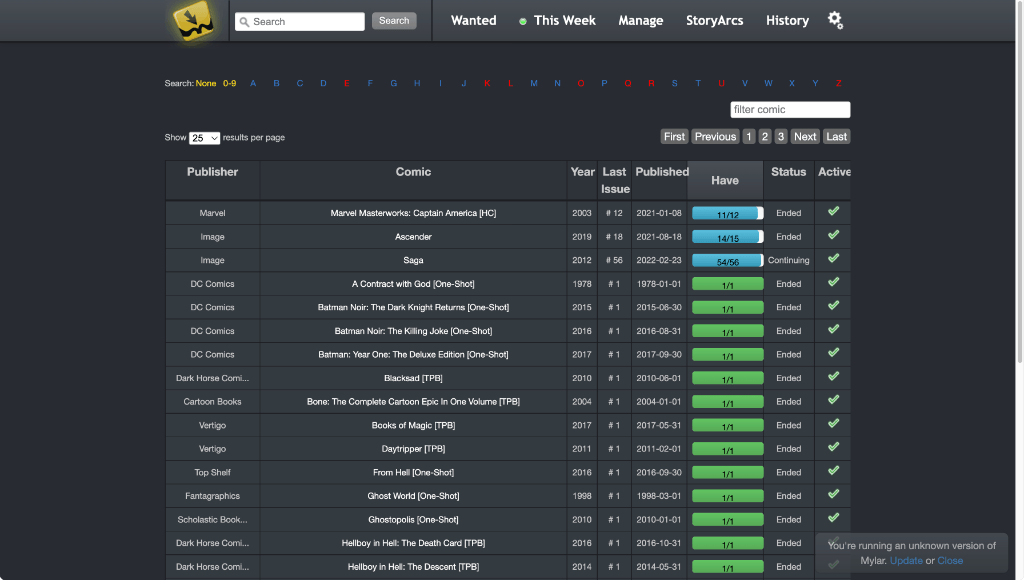
Let’s wrap this up by installing Mylar! The installation process is also a bit more involving but still manageable. Run the following commands to get started:
sudo git clone https://github.com/mylar3/mylar3 -b master /opt/Mylar

sudo chmod 770 /opt/Mylar -R
sudo chown $user:$user /opt/Mylar -R

pip3 install -r /opt/Mylar/requirements.txt
Next, we want to create the create the systemd process, do this by running sudo cp /opt/Mylar/init-scripts/systemd/mylar.service /etc/systemd/system/mylar.service followed by sudo vim /etc/systemd/system/mylar.service. Make sure the content of the file looks something like this:
[Unit]
Description=Mylar3 Daemon
After=network-online.target

[Service]
User=ddl
Group=ddl

ExecStart=/usr/bin/python3 /opt/Mylar/Mylar.py -v --daemon --nolaunch --quiet
GuessMainPID=no
Type=forking
Restart=on-failure

[Install]
WantedBy=multi-user.target
Make sure to adapt the User= and Group= entries accordingly.
Finally, run the following commands to start Mylar:
sudo systemctl enable mylar
sudo systemctl start mylar
The last line should inform you that Mylar has been started and is running on http://x.x.x.x:8090. Replace x.x.x.x with the IP of your VM and open it up in a browser.
Mylar does a decent job to manage your favourite comics or manga. I use the Chunky Comic Reader and Ubooquity to read them on my devices. We’ll get into those extra services in the next blog post.
Bonus: Configuring the services
Changing the default port for each service once the setup is completed to avoid clashes is recommended. Choose a port that suits you and increment each time, e.g. 8091, 8092 and so on.
Additionally, choose a username and password to protect access to the services.
Finally, the most critical part is configuring the connection to SABnzbd under Download Clients. You should have no trouble adding all the necessary information. Make sure to add the appropriate Category that we defined in the previous article. Use the Test button to check if everything is correctly configured.
You also need to add your Indexers. There are plenty of presets to choose from. Pick the one that fits your indexers and adapt them accordingly or have a look at Prowlarr.
Other than that, I tend to leave the settings at their default values. You may want to choose different naming schemes, better qualities and profiles. I advise you to play around with the settings and then manually sync them across the services.
Bonus: Migrating from an existing instance
If you have an existing installation backup the <service>.db and copy it over to the new installation directory. The default directory is normally /var/lib/<service>/ or /opt/<service>/. My migration commands looked something like this with Sonarr:
# do this on both instances
sudo systemctl stop sonarr
# copy over the database
sudo tar cvfz sonarr.tar.gz nzbdrone/
scp copy sonarr.tar.gz username@x.x.x.x:~/
tar xvf sonarr.tar.gz
mv sonarr.db /var/lib/sonarr
Simple repeat the process for the individual services.
So what’s next
We’re ready for the next chapter with the services and download managers setup. We will set up additional services that can help manage our ever-growing digital library even more.
‘Till next time!